Inhaltsverzeichnis
6 Working with AutoCAD
6.1 Basics
In this project a simple interface from Teamcenter to AutoCAD was implemented. With this interface, AutoCAD files can be opened from within Teamcenter, edited and the changes saved in Teamcenter. All PDM functions such as search, release etc. are also possible analogous to all other part types (2D/3D design with NX).
6.2 Creating an AutoCAD drawing in Teamcenter
You cannot create an AutoCAD file (or a part with an AutoCAD file) directly from AutoCAD in Teamcenter. There is the following procedure for this:
Create a new part in Teamcenter as usual:
Select “File → New → Item” and then select the type  .
.
Assign an item ID and assign a (temporary) name.
Press “Next”.
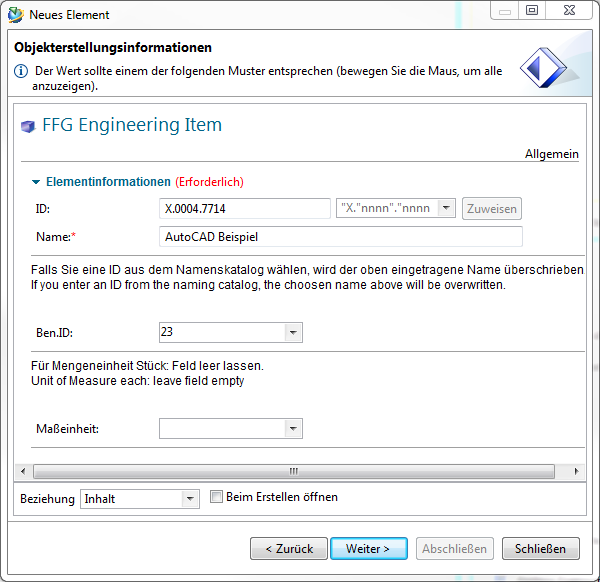
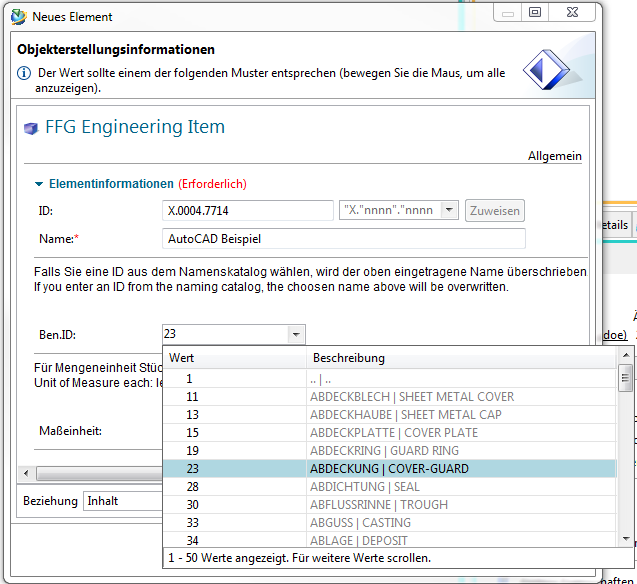
Choose a name from the naming catalog.
Enter the essential master data.
Press “Finish”.

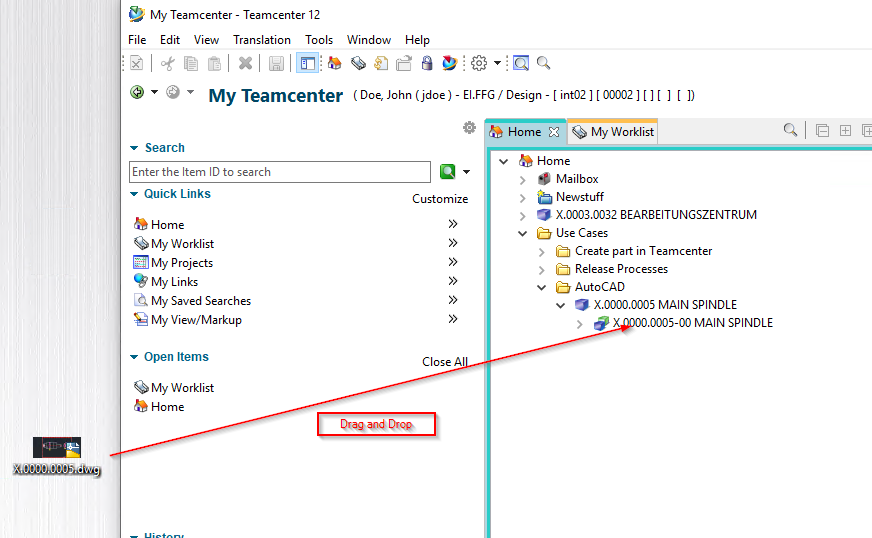
Now take an existing AutoCAD file or create a new file with AutoCAD and drag and drop it onto the newly created revision in Teamcenter.
The following dialog appears. Note that the “Dataset Name” corresponds to the name of the file.
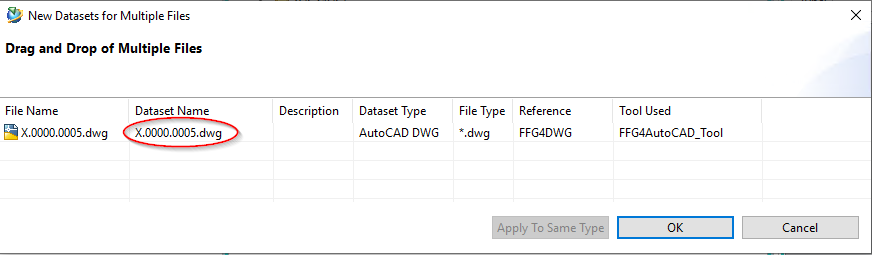
It makes sense to change the dataset name so that you remove the extension .dwg and, if necessary, equate the name with the item's part number. To do this, double-click on the dataset name, make these changes and then confirm the changes with the “Enter” key.

Then press “OK”. The file is now attached to the revision as a so-called “dataset” and is thus available in the PLM system.

To edit the AutoCAD file further, double-click on the dataset. AutoCAD is opened and the file is loaded.
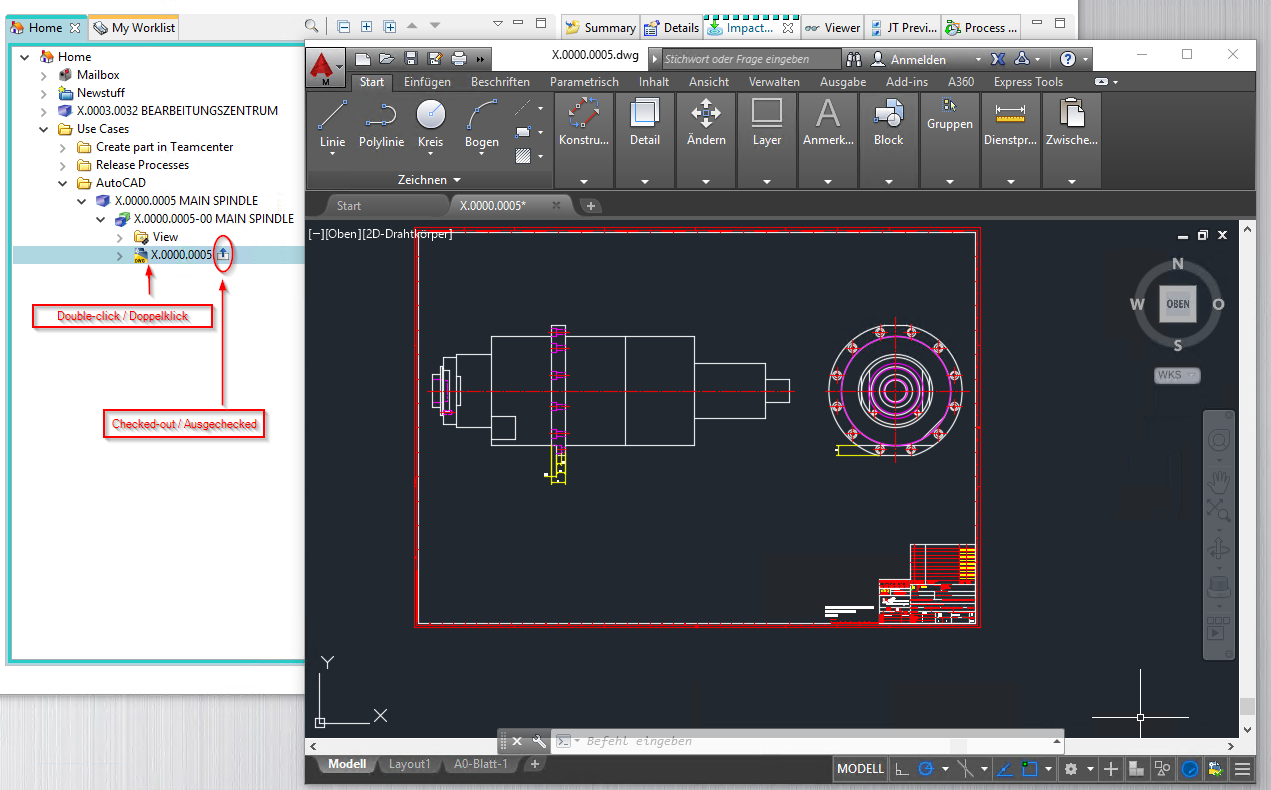
Note: The file will be checked out to a local directory in the temporary folder of your computer when opened. All changes are saved there as long as the AutoCAD program remains open. If necessary, make sure that a “Checked-Out” symbol is displayed on the dataset.

After finishing the work, save the file and close AutoCAD. The file will be checked in to Teamcenter and the “Checked-Out” icon will disappear. This process may take some time because the file is uploaded to the volume server in the background.
