User Tools
Table of Contents
5 Working with NX
5.1 Creating items in Teamcenter
Create a new part in Teamcenter as usual:
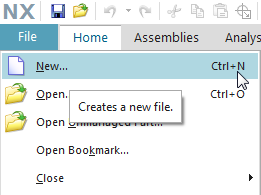
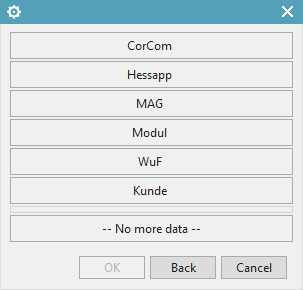
Select “File→New→Item” and select the type  .
.
Assign an item ID and assign a (temporary) name.

Choose a name from the naming catalog.
Unit of Messure = Empty (each)
Press “Next”.
Enter the essential master data.

Press “Finish”.
Then select the newly created item or item revision and start NX via  in the menu bar. Once you save the part file in NX, the dataset (UGMaster) is placed under the Item Revision.
5.2 Preparation
Before you start working in NX, please first load the role “FFG Standard” via the sidebar  .
.
5.3 Create Items with the help of NX
- The creation of a new item in Teamcenter is performed in NX as follows:
| 1. | Create a new data record via file → New… |
| 2. | Create a new record via Ctrl+N |
- The creation of a new item as master part is visible as relationship “master” and contains the model.
- The creation of a new non-master part is visible as relationship “specification” and contains the DrawingPart.

| Here, certain mandatory attributes must be assigned to the newly created item. |
5.4 Revision and save parts
- The revision of Master parts is also carried out: Menu File → Save → Save as…
- Create as new change status (revision)
- Save as new element creates a new part under a new part number
- Save as Alt-Rep creates a new dataset with altern. Geometry presentation under the current part / revision master.
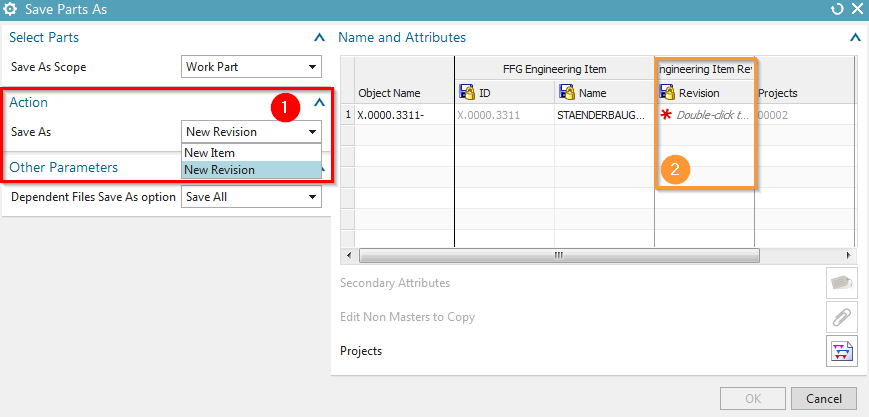
| 1. | Save as action - New element / New change status |
| 2. | Double-click to assign a new revision number to the Item Revision. |
- If an item revision contains dependent files in addition to the Master part, the documents to be transferred can be selected if this is defined in the preferences.
5.5 Teamcenter Navigator
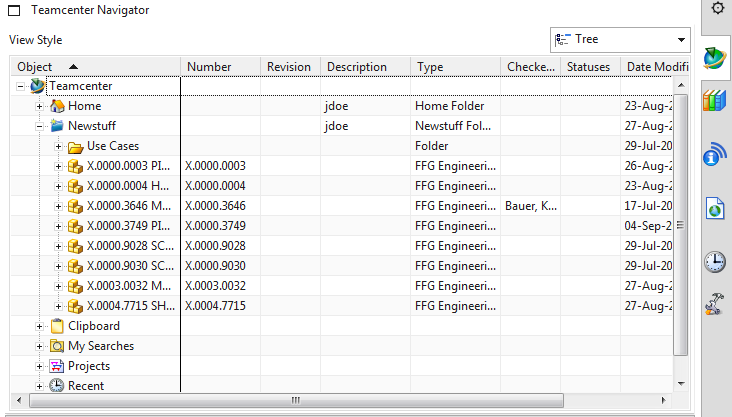
- The Teamcenter Navigator shows the current folder structure of the user.
- The columns can be adjusted as required.
- The following file operations are possible with RMT:
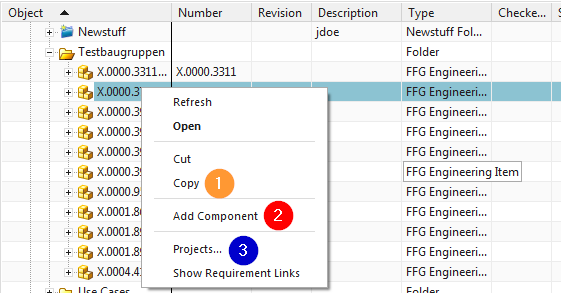
| 1. | Cut and Copy has the same effect as in the “My Teamcenter” environment |
| 2. | Opens the “Add Component” dialog |
| 3. | Add the object to a project |
5.6 Teamcenter Navigator Search

| 1. | Search Wildcards as in Teamcenter area |
| 2. | Advanced Search |
| 3. | Loading options for assemblies |
5.7 Teamcenter Navigator Advanced Search
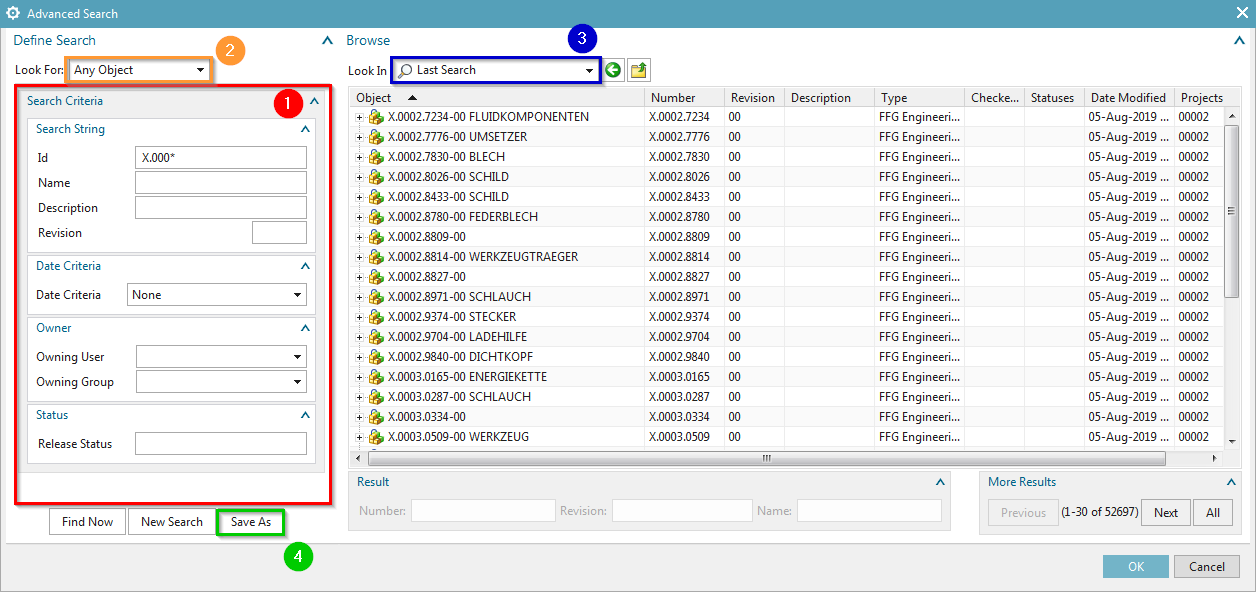
| 1. | Search criteria |
| 2. | Look for it: |
| 3. | Display last searches |
| 4. | …Searches saved in “My Teamcenter” |
5.8 Teamcenter functions in the assembly Navigator
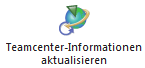
- Keep all Teamcenter information up to date
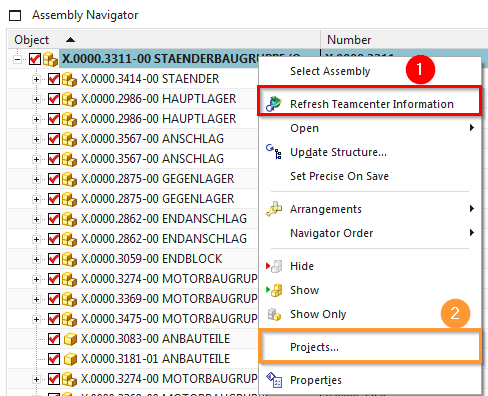
| 1. | Update information from Teamcenter |
| 2. | Add the object to a project |
5.9 Creation of a UGParts (drawing)
To create a UGPart in Teamcenter, please load the part or assembly from Teamcenter to NX. Then create the UGPart belonging to the UGMaster via File → New (Ctrl+N).

Then select the register “FFG Drawing” and the corresponding seedpart “FFG-nx120_mag_drawing”. The corresponding attributes are taken from the item revision. Confirm this with OK.

5.9.1 NX TOOLS - Loading the drawing frame
Proceed as follows to add the drawing frame and sheet format:
| 1. | Overview - Frame functions |
 |
|
| 2. | Load drawing frame |
 |
|
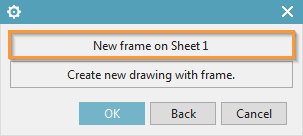
| 3. | Drawing frame on Sheet 1 |
 |
|
| 4. | Selection of the desired frame |
 |
|
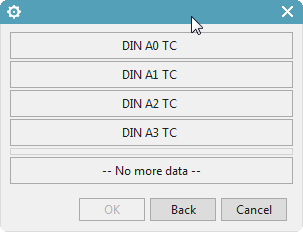
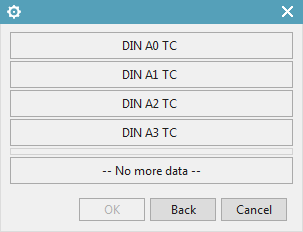
| 5. | Selection of the drawing format |
 |
Note:
In order to display all attribute values in the drawing frame, the UGPart must be saved to Teamcenter and the drawing header must be updated with the function “Abbild aktualisieren”.
5.9.2 NX TOOLS – Creating a drawing sheet
| 1. | Overview - Frame functions |
 |
|
| 2. | Load drawing frame |
 |
|
| 3. | New Sheet with frame |
 |
|
| 4. | Selection of the desired frame |
 |
|
| 5. | Selection of the drawing format |
 |
|
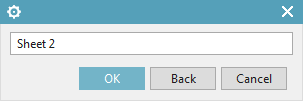
| 6. | Accept naming of Sheet n |
 |
5.9.3 NX TOOLS – Change drawing frame / format on existing drawing
| 1. | Overview - Frame functions |
 |
|
| 2. | Load drawing frame |
 |
|
| 3. | Drawing frame on Sheet 1 |
 |
|
| 4. | Selection of the desired frame |
 |
|
| 5. | Selection of the drawing format |
 |
|
| 6. | Delete all patterns |
 |
5.9.4 NX TOOLS – Change drawing frame / format on existing drawing
 | Transfer metadata from Teamcenter to NX |
 | Manual update of metadata in the text header |
Solid Edge
1. Solid Edge 2023 Update
Teamcenter Documentation
1. Overview
2. Teamcenter Basics
3. Working in Teamcenter
4. Working with CAD applications
5. Working with the structure manager
6. Workflows in Teamcenter
EPLAN - integrate2
1. Preamble
2. Function Description
3. Operating the Integration
4. Troubleshooting